· Sasha Zverev
3 Hacks to Deliver Founder Content (almost) Every Day: My Personal Guide
If you're a tired founder, team leader, or just a multitasking professional who wants to write more posts for social media and blogs but simply lacks the time, you might find yourself forgetting who you are and what you want to say.

Who Am I?
I’m Sasha, the founder of Yaranga and a 3x startup founder. I’ve been regularly writing blog posts and short stories, or tweeting (threading now), since I was… not a founder and had all the time in the world to enjoy life.
How I Work
The key to delivering content every day is to simply start doing it. Developing a habit is crucial, so begin writing daily. You might not achieve immediate success, but the important thing is to take that first step.
For those looking to cultivate this habit, I highly recommend a fantastic free course that focuses on developing effective learning habits: Learning How to Learn.
Step 1: Idea Collection – Jot Down Even the Smallest Concepts
When it comes to writing blog texts, I start by gathering my thoughts in one place—think of it as a brainstorming session gone slightly chaotic. I jot down my brilliant ideas, or theses, if you want to get fancy. And here’s the kicker: I do this in multiple languages! It’s like a multilingual mess of creativity, all waiting to be organized into something coherent.
- I shamelessly copy-paste information from the internet 📄,
- I also scribble down whatever I discussed 🗣️ with my colleagues in the language we were using. Because, you know, speed is key.
- Sometimes, I even have audio notes 🎤 from Whatsapp, which I send to myself on the go at any point of time during my day (but thanks to Yaranga’s voice-to-text, those are already magically transcribed! So, no worries there).
Step 2: Distill Key Ideas and Create an Organized Structure
After my genius ideas are all laid out, I ask the Yaranga AI to whip up a structure from my scattered thoughts. At this stage, AI at least pretends to help us conquer the “fear of the blank page.” Because, you know, nothing says creativity like relying on a machine to get us started!
After that, I begin reviewing and manually editing the text to refine it further.
AI is pretty good at extracting key ideas and handling small parts, as well as following clear instructions, like shortening text or translating it into another language without messing up the structure. But when it comes to working with large, complex, and tangled texts (and let’s be honest, people can be just as tangled and contradictory), AI struggles quite a bit.
Step 3: The Editing Circus – Watch as Your Drafts Disappear!
Then comes the fun part: editing the mess I created:
- I rearrange the structure because, obviously, it needs some serious help.
- I change the headings—because who doesn’t love a good rebranding?
- For each section, I rephrase the main thought and idea.
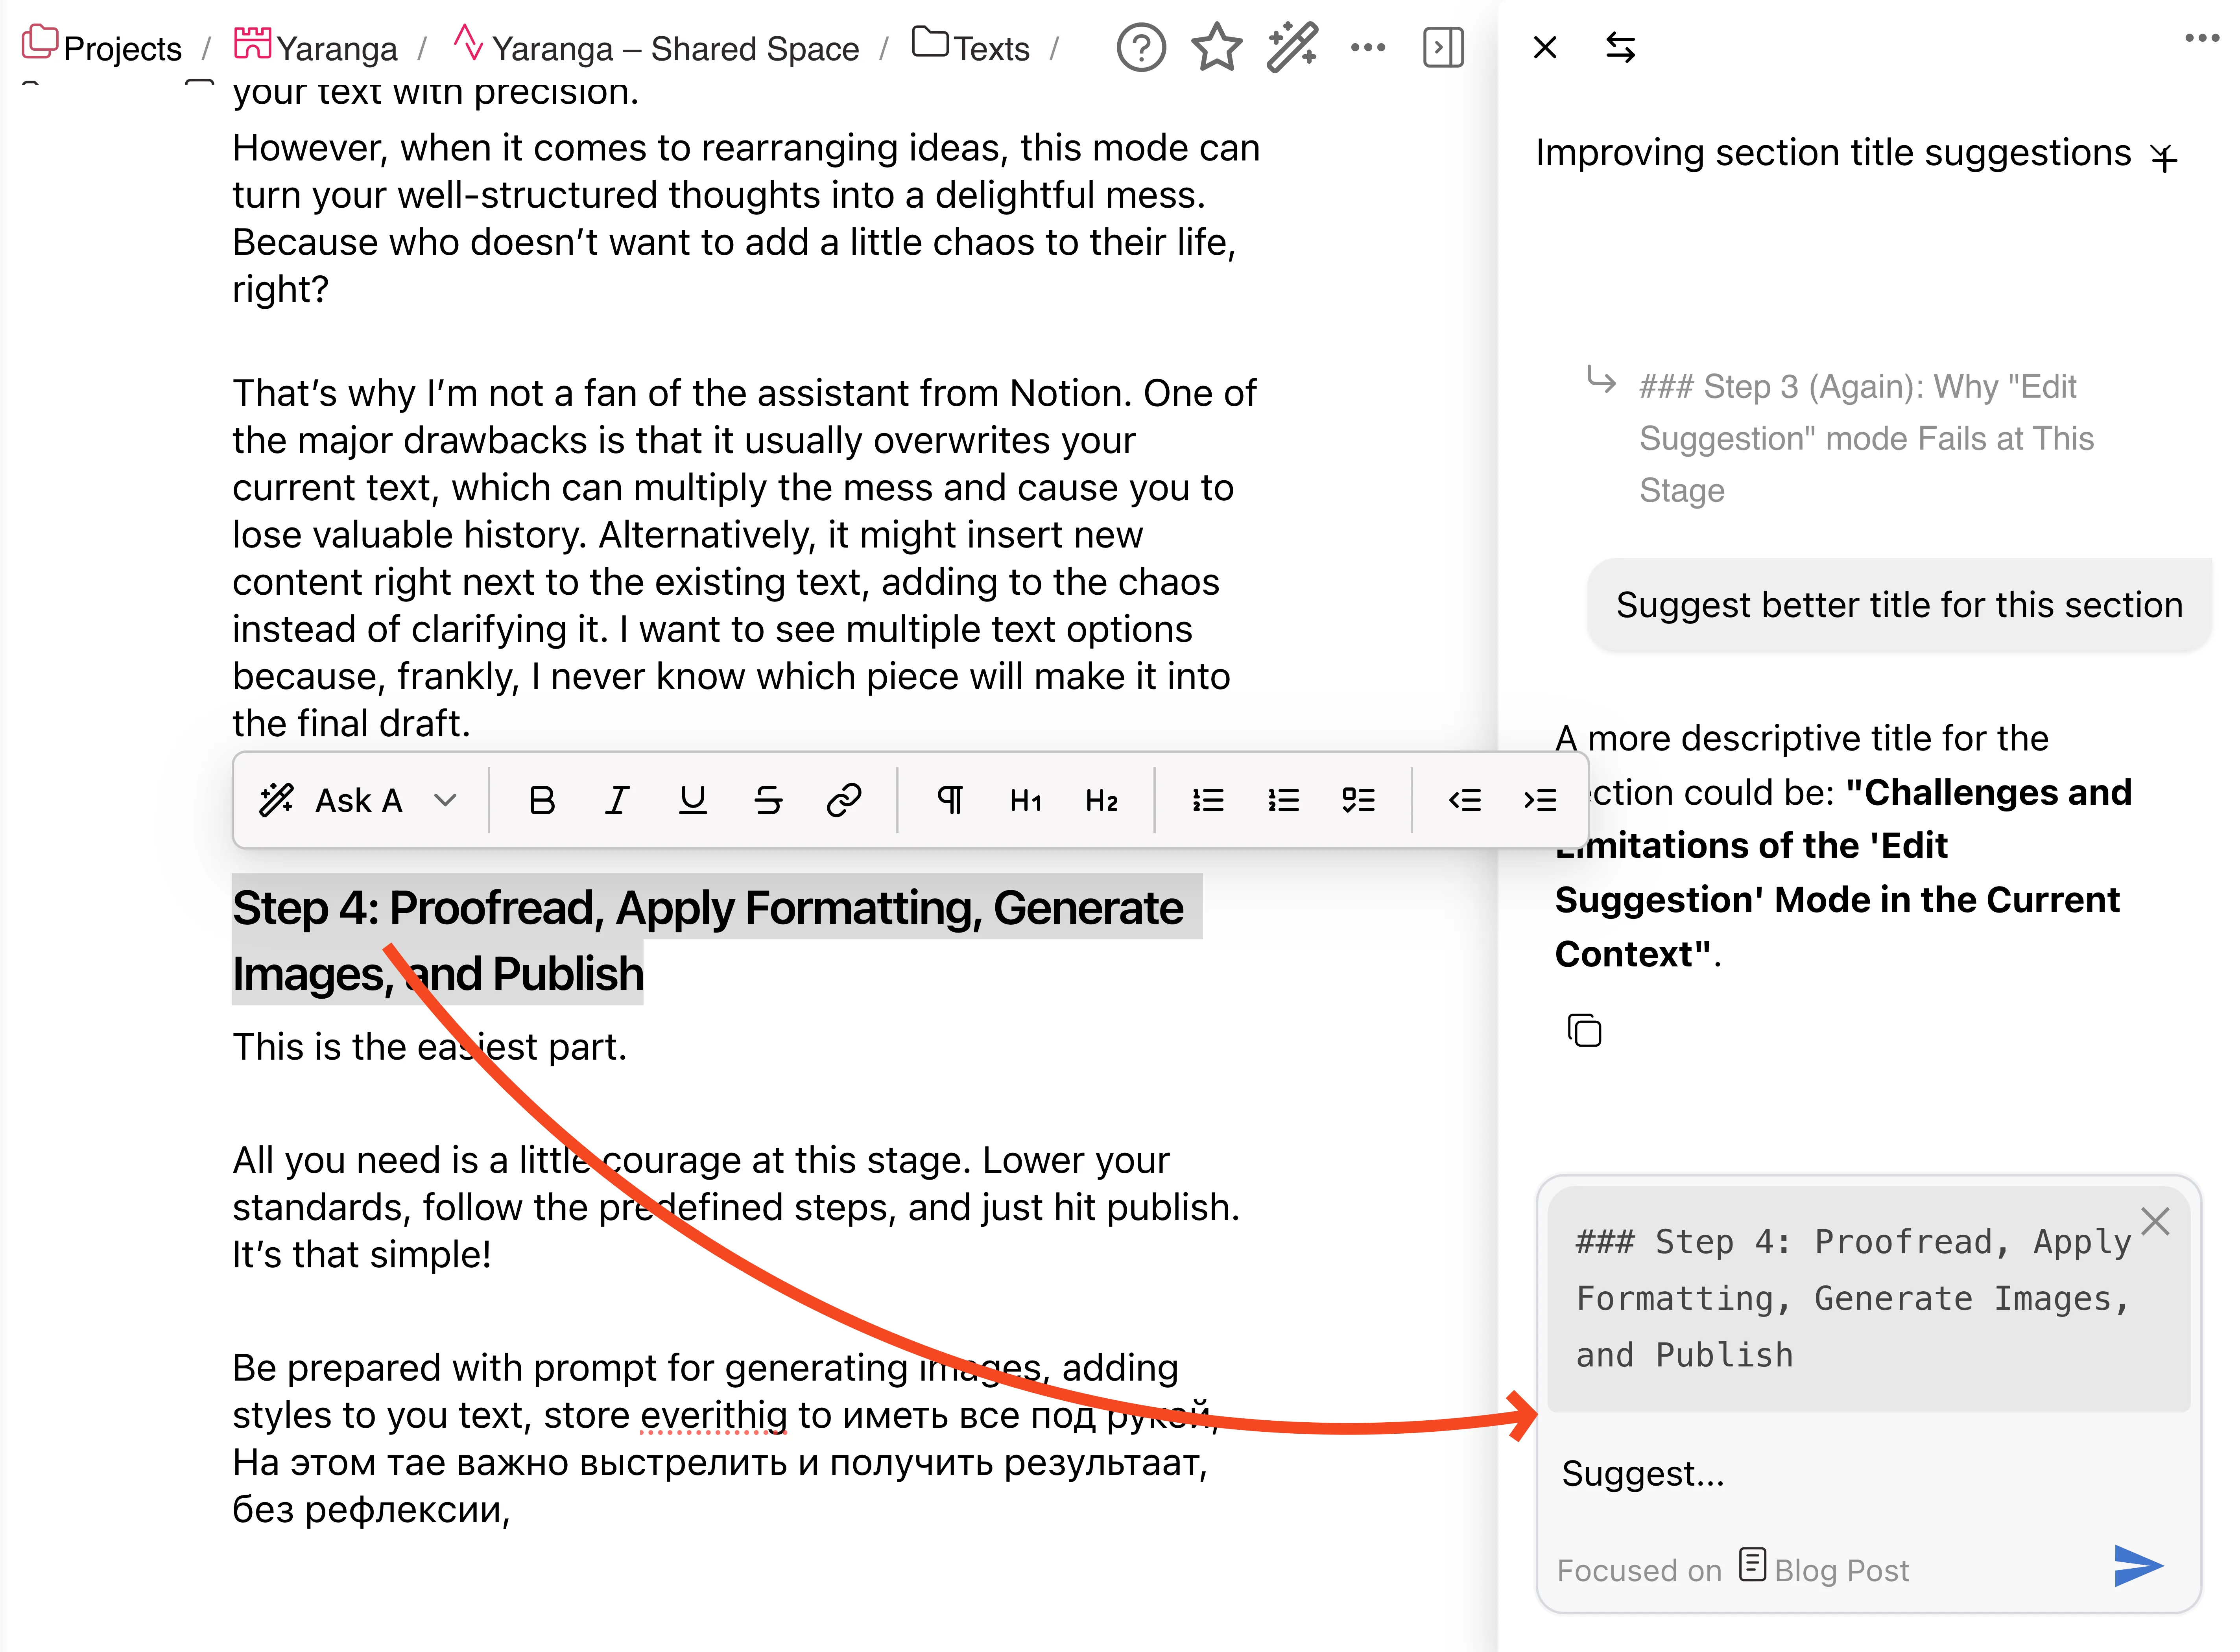
While I’m editing, I focus on bits and pieces of text, paragraphs, and sections. Typically, I ask the Yaranga AI to rewrite smaller fragments. One of Yaranga’s features allows you to select a piece of text and prompt the AI—either with predefined suggestions or your own custom prompts—to work with that text. Additionally, Yaranga uses the selected text as a focal point while remaining aware of the entire document. For example, you could ask, “Can you suggest a title for this chapter?”
Step 3 (Again): Why “Edit Suggestion” mode Fails at This Stage
Now, if you have experience with the “Edit Suggestion” mode (coming soon to Yaranga!!), you’ll know that it can be a game-changer. This feature works perfectly for legal documents, where changes are few but crucial. It’s also fantastic during the proofreading phase, helping to refine your text with precision.
However, when it comes to rearranging ideas, this mode can turn your well-structured thoughts into a delightful mess. Because who doesn’t want to add a little chaos to their life, right?
That’s why I’m not a fan of the AI assistant from Notion. One of the major drawbacks is that it usually overwrites your current text, which can multiply the mess and cause you to lose valuable history. Alternatively, it might insert new content right next to the existing text, adding to the chaos instead of clarifying it. I want to see multiple text options because, frankly, I never know which piece will make it into the final draft.
Step 4: Proofread, Apply Formatting, Generate Images, and Publish
This is the easiest part. All you need is a little courage at this stage. Lower your standards, follow the predefined steps, and just hit publish. It’s that simple!
Be prepared with prompts for generating images (I personally prefer using Gemini for my blog post images) and adding styles to your text. Store everything (in Yaranga!) so that you have all the resources at your fingertips. At this stage, it’s crucial to take action and achieve results without overthinking.
A Little Self-Promotion: Because Who Doesn’t Love Hearing About How I Really Use Yaranga for My Writing?
What does Yaranga bring to the table to support my glorious workflow?
- You can highlight any piece of text and immediately work with it in the chat. When you finally get a result that doesn’t make you cringe, you can copy or transfer it to the main document.
- The Yaranga AI agent, besides just being a text robot, knows about the entire note and project. So, if you ask it to expand the note with knowledge from a neighboring document, it actually does it! Shocking, right? This is something classic chats like OpenAI or Gemini can’t even dream of since they have no clue about your documents.